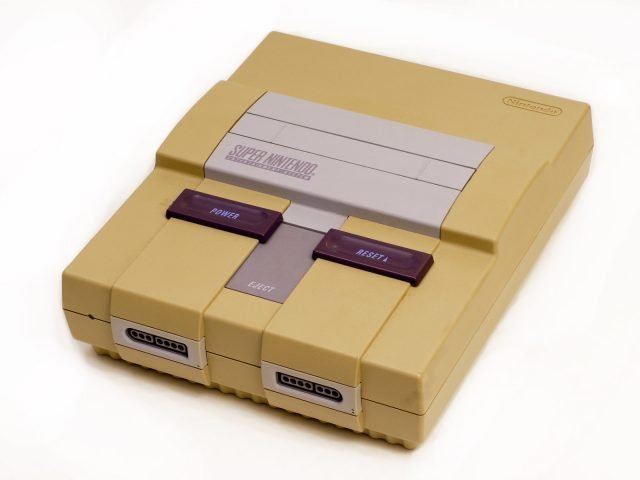
By default, all SNES models left the factory with white – or gray – color. But some people realized that, Over time, it acquires a more yellowish tone in parts of the carcass or almost in its entirety.
There have been many causes attributed to this problem, especially if you live in a house with smokers. The fact is, the reason behind this yellowing on the carcasses is totally different – and it is more technical than anything else.
Why did I end up with a yellowed SNES?
If you are curious to know why your console has changed color over the years, the answer is quite simple and is in the type of plastic that Nintendo chose to make the console’s housing.
In some SNES models, Mario’s house chose to use ABS plastic (Acrylonitrile Butadiene Rstirene). The model is rigid and light, but still capable of offering flexibility and resistance if the console ends up falling off the shelf.
Cleaning process can help a yellowed SNES get closer to its original color.Font: Reddit/Rheiner
Going on the more technical side, this is a combustible plastic, so it is common for manufacturers who deal with this material to end up including some chemicals to delay deterioration if the device comes into contact with fire – among these compounds we have bromine.
Bromine, in fact, is the main villain in this story. This is because, when in contact with ultraviolet radiation, it creates a process that causes oxidation and, consequently, the fateful yellowish SNES.
How to reverse a yellowed SNES?
The good news is that, if you don’t want to have a yellowed SNES at home, you can remove the unwanted tone using some products that you can easily find anywhere in Brazil.
An important detail: To carry out this process, you need to disassemble your console and keep all the parts in a reserved place. Therefore, be careful when attempting such procedures so as not to damage any internal components.
Method to reverse yellowed SNES
Ingredients:
- creamy hydrogen peroxide factor 40;
- Vanish (with hydrogen peroxide);
- Liquid glycerin.
In a pot, mix 100 ml of hydrogen peroxide, 50 ml of Vanish and a teaspoon of glycerin. If you live in a region with a lot of wind, it’s a good idea to add a teaspoon of cornstarch so that the substance doesn’t dry out too quickly.
Once the substance is created, Distribute it over the yellowed parts of the console with the help of a brush. Ideally, do this in a single direction so that the compound spreads evenly.
With the substance spread across the console, you need to leave it in the sun for about an hour for the reaction to take effect (preferably early afternoon sun). Check from time to time to ensure that this period does not exceed.
Once you finish the process with the help of the sun and reach the level of whitening you want, wash the carcass with water and detergent to remove any excess that remains on it. Let it dry and then reassemble the console.
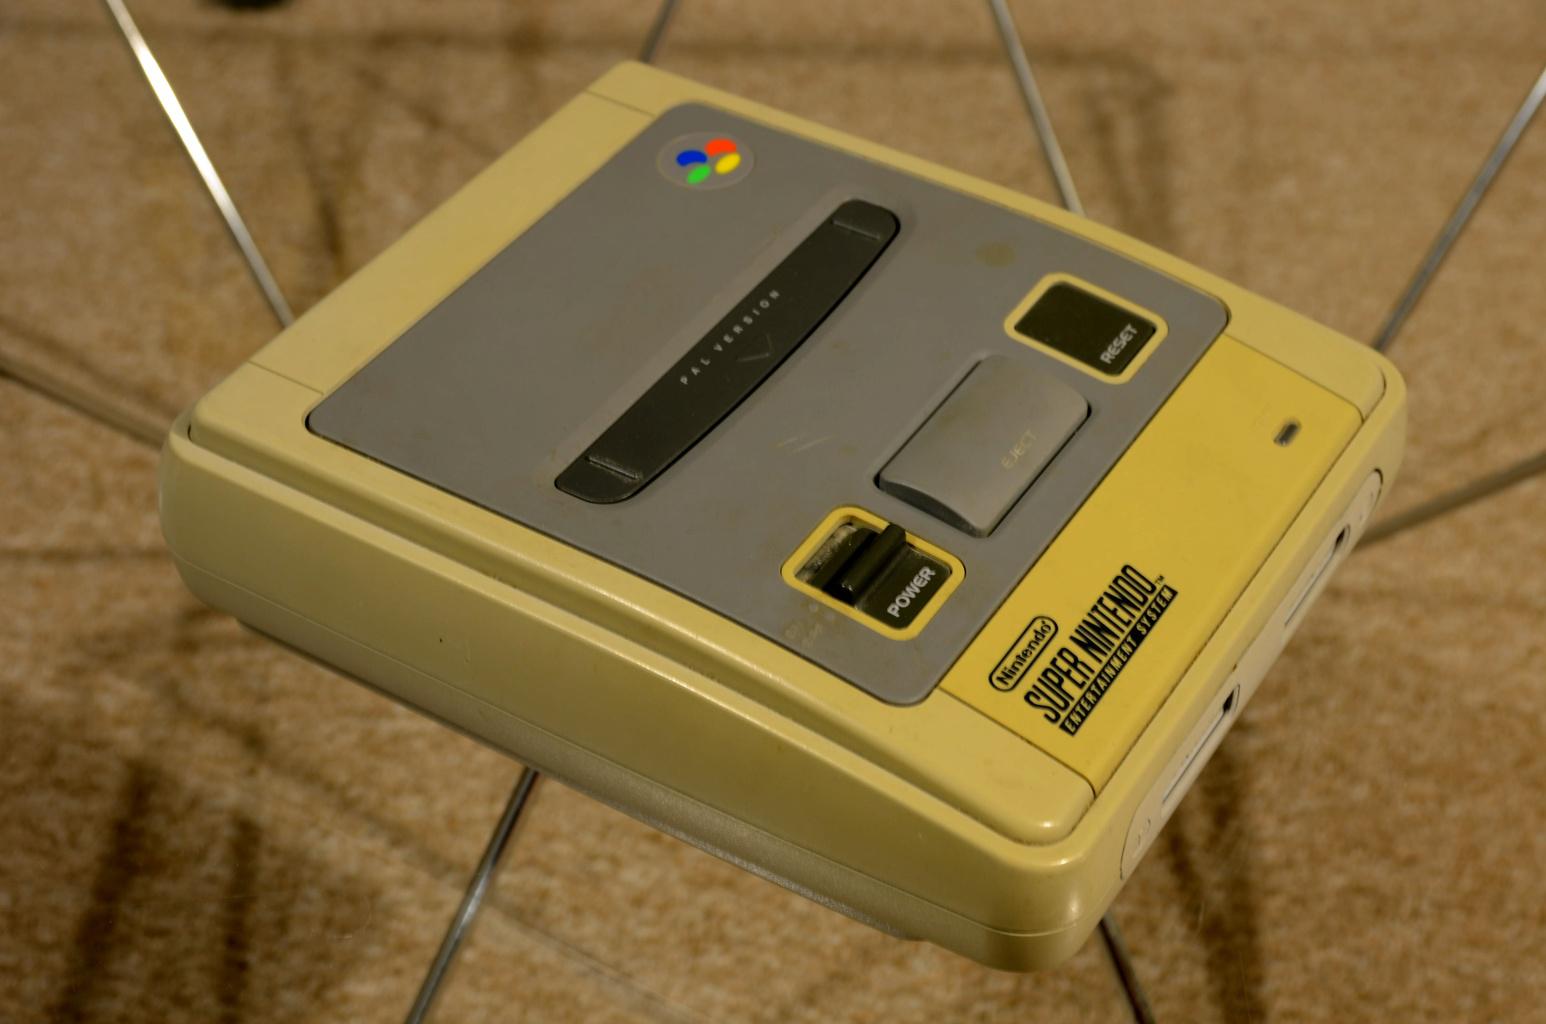 The yellowing removal process applies to both the American and Japanese Super Nintendo.Source: kompjut0r/Reproduction
Is removing yellowing from SNES permanent?
Unfortunately, once you own a yellowed SNES, it will not return to maintain the original color forevereven doing the above process.
Because of this, it is good to keep an eye on video game preservation tips. Furthermore, keep the console in a cool, ventilated place, away from direct sunlight. And, of course, clean it periodically to avoid the accumulation of residue.
Did you like our tip for reversing a yellowed SNES? Have you tried this process before? Share your opinion with other readers of the Voxel using our social networks, and also take the opportunity to read about the 10 easiest Super Nintendo games.
Source: https://www.tecmundo.com.br/voxel/272009-snes-amarelado-veja-truque-deixa-lo-novinho-folha.htm